How to Create a Seminar
Follow these steps to create and manage a seminar on the platform:
Step 1: First, Create a New Collection of Your Cases
- Begin by creating a collection of cases you own (i.e., cases you have uploaded and published). Cases can be located across various groups.
- Within the collection, arrange the cases in your preferred order.
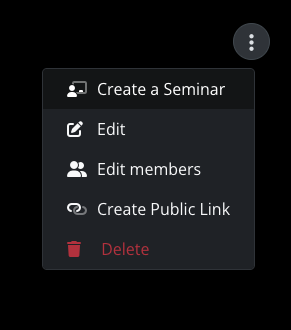
Step 2: Go to the Collection Options to Create a Seminar
- Open the collection options menu.
- Select "Create a Seminar" to proceed.
Step 3: Edit Seminar Fields
- Click on any pencil icon you see to edit the text in the corresponding field.

- You can edit and update the following fields to suit the focus of your seminar:
- Main Title
- Case Title
- Case details
- Diagnosis
Note: Any changes made to fields within a seminar will not alter the original details in the case or reflect on the original collection.
Step 4: Reorganize and Hide Cases
- Arrange the cases listed on the left into the desired order via drag-and-drop
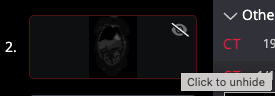
- To exclude any case from the listed view, simply click the hide icon.

Step 5: Add polls and questions
On the right-hand side, you can add interactive poll questions to engage your audience and collect real-time responses in your seminar when it's being presented.
-
Click the "Questions" tab in your seminar setup on the right side
-
Click the "+" button to add a new question.

-
Enter your question type and add text in the "Question 1" field.

-
Add your answer options:
-
Start by entering Answer Option 1 and Answer Option 2.
-
Select the correct answer – If the question has a correct choice, there is an option to mark which answer is correct.
-
To share the seminar with an audience using an auto-expiring link and password:
-
Click Share.
-
(Optional) Add a password for access.
-
Set the start and end date for link availability.
-
Click Submit.
-
🔗 Copy and share the link and password with your audience.
Step 6: Present the Seminar (Presentation mode) ▶️
- When you're ready to present your seminar, click the Present button. This will display the seminar with all preferences applied in full-screen mode. As the presenter, you can toggle and unhide all field and poll visibilities as needed to guide your session effectively and progress to the next case via the control arrows.
Return to Edit mode
To return to the seminar to editing, click the ESC key.Additional Features
- Control field visibility to the audience:
You can choose to hide or show the Case details and Diagnosis text fields in each of your seminar cases.
Seminar Management
- Present, Share, Edit, Duplicate, and Delete Your Seminars
- Click the My Seminars menu on the left side of the home screen to see all created seminars.
- Here, you can:
- ▶️ Present the seminar.
- 🔗 Copy the seminar link and password details to share with an audience.
- ✏️ Edit seminar

- 🗑️ Delete seminar
-
- Duplicate seminar